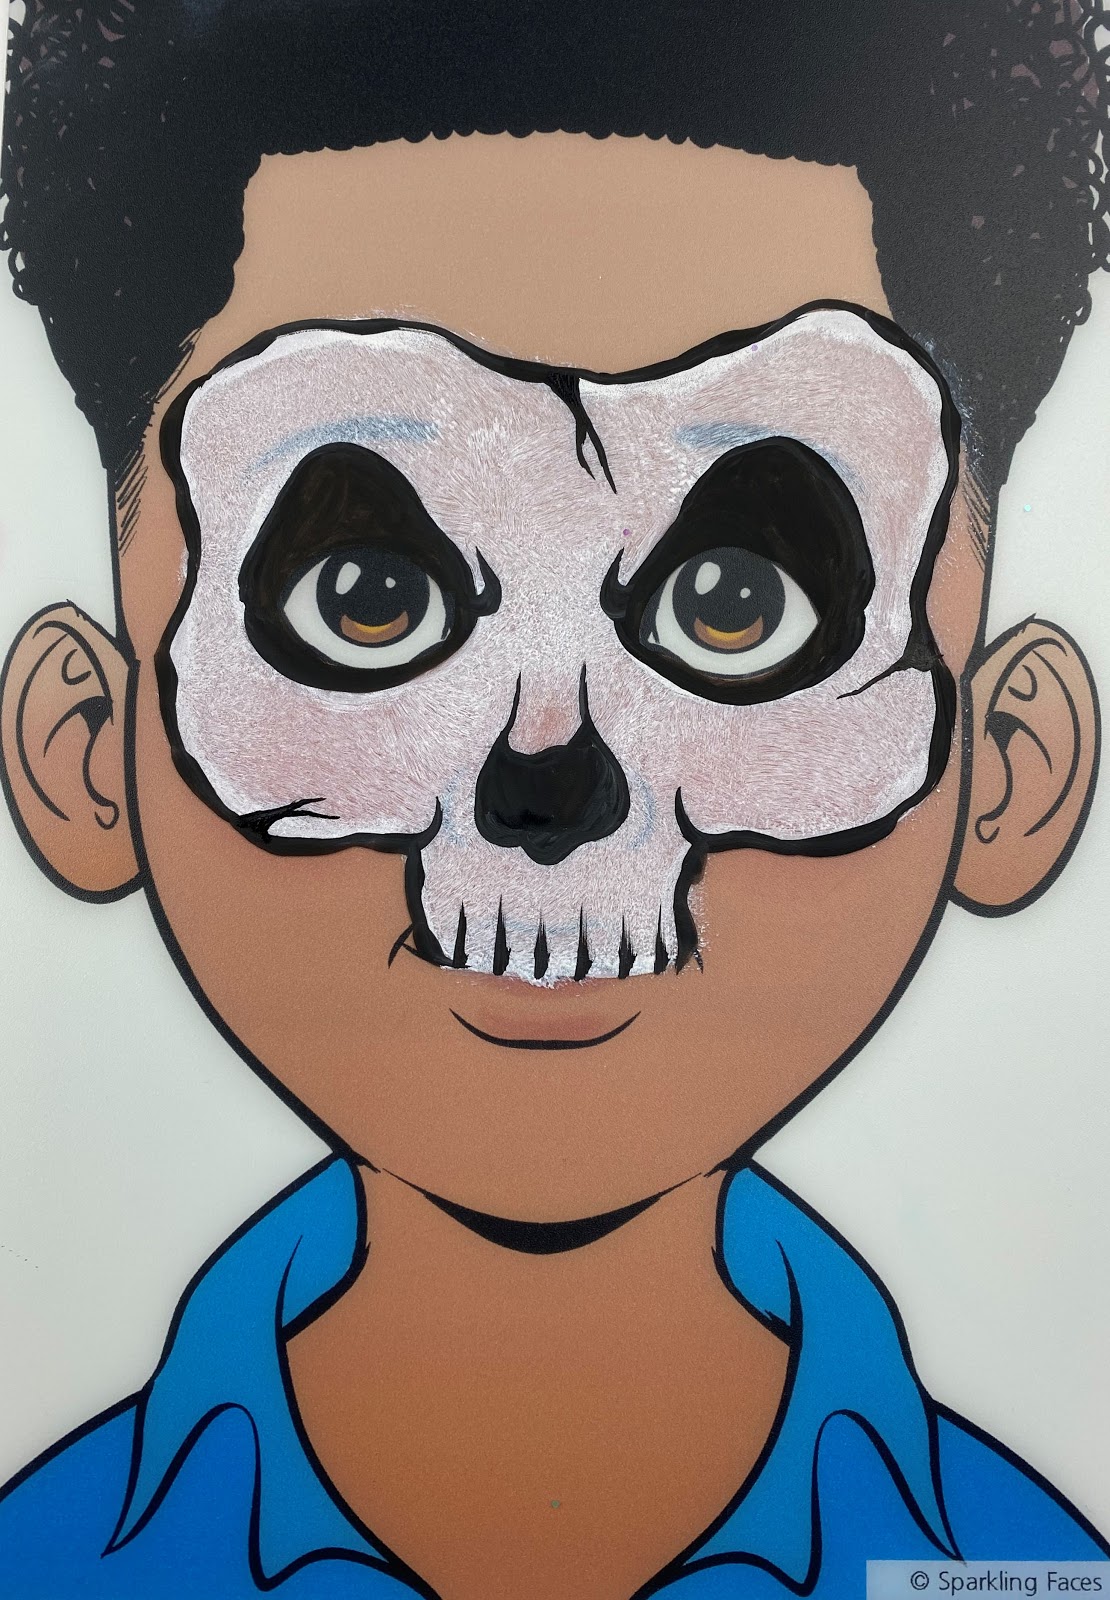
💀 Want a simple and striking Halloween look? With my affordable Skeleton Kit, you get everything you need (paints, brush, sponges) plus this step-by-step tutorial. Results guaranteed!
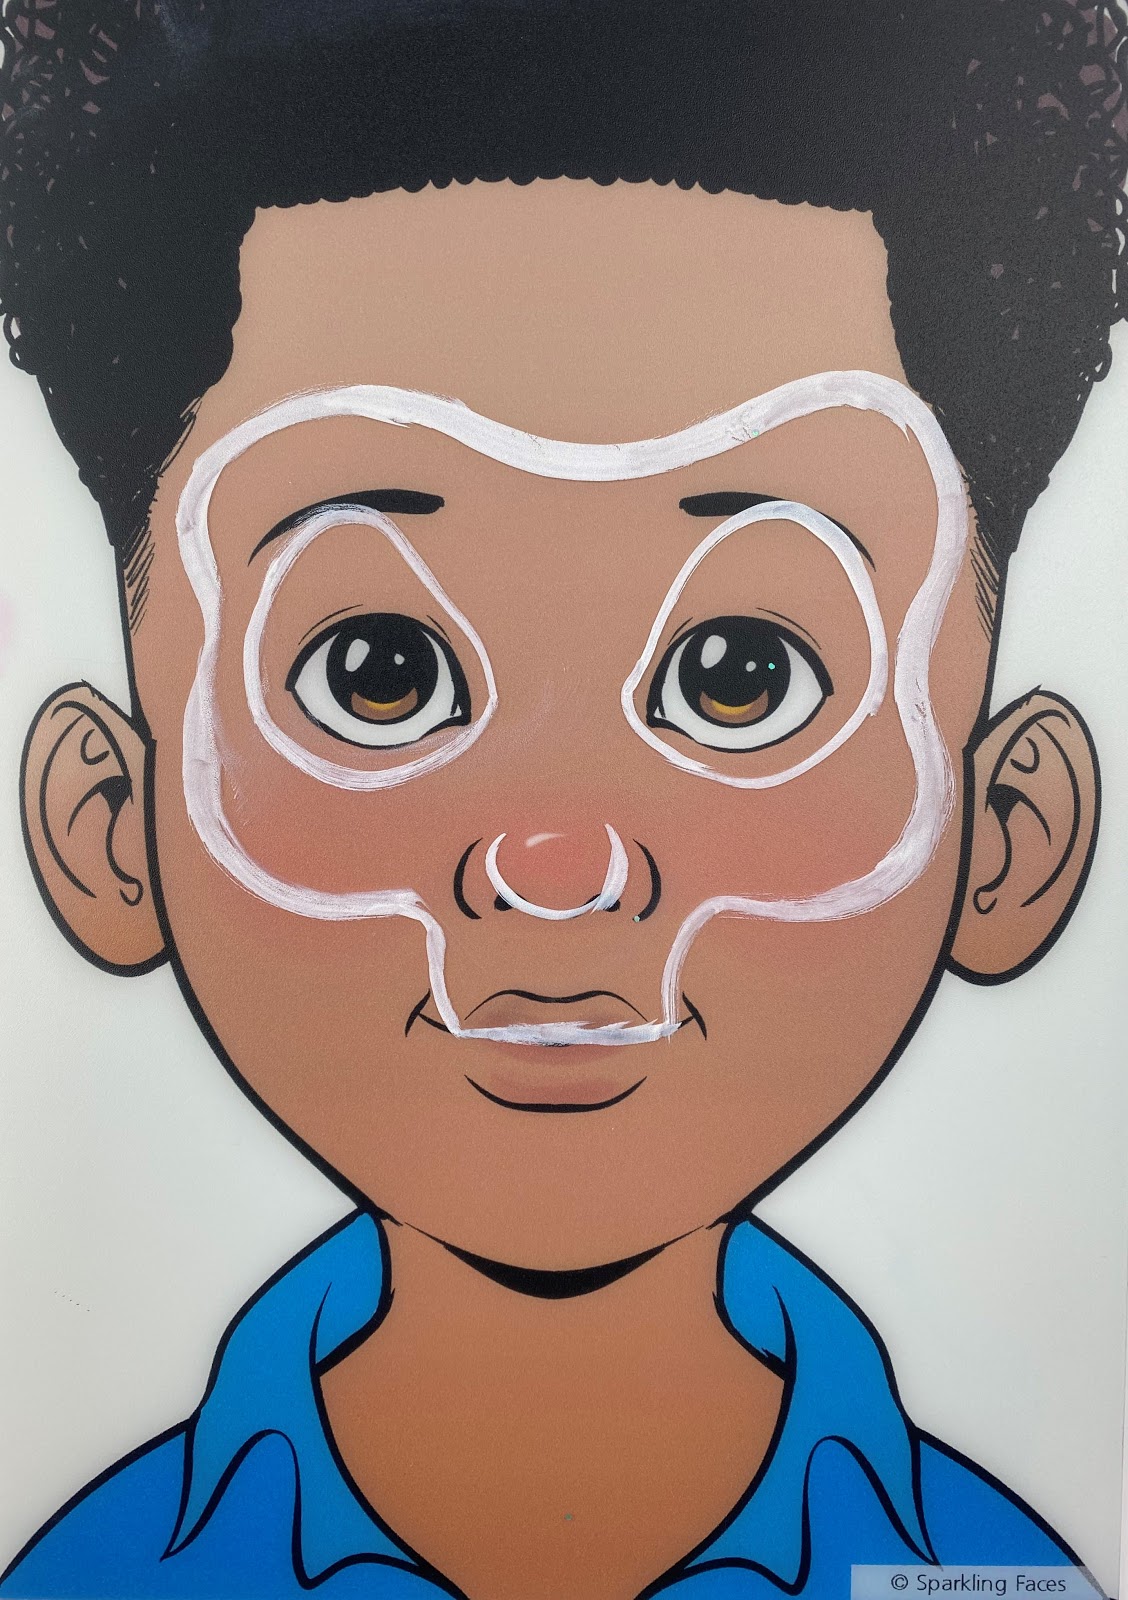
✏️ Step 1: Outline the skull
Start by outlining the skull with your brush and the white paint. 💧 Dampen your brush to activate the paint until you get a creamy texture.
Use your child's face as a guide to place your lines:
curve inward at the temples
round out over the cheekbones
naturally follow the eye sockets
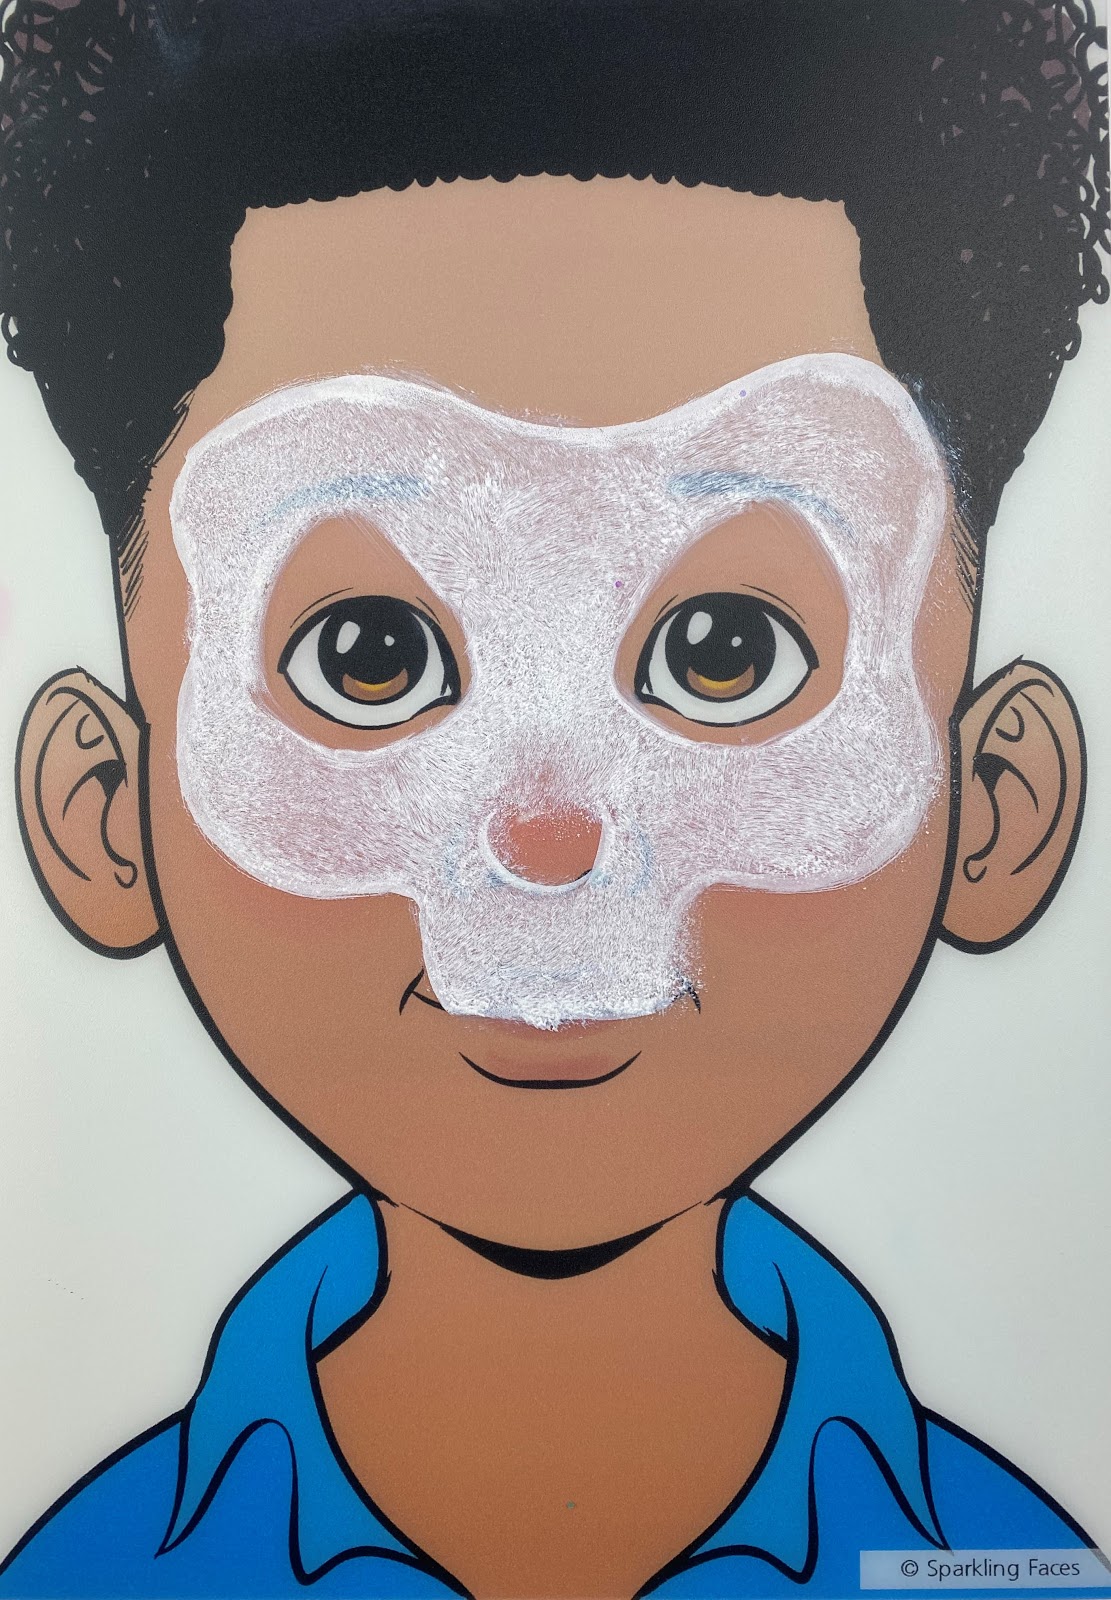
🤍 Step 2: Fill in the skull
Using your slightly damp sponge, fill in the inside of the skull with white.
💡 Test on your hand first: the texture should be creamy, neither too dry nor too runny.
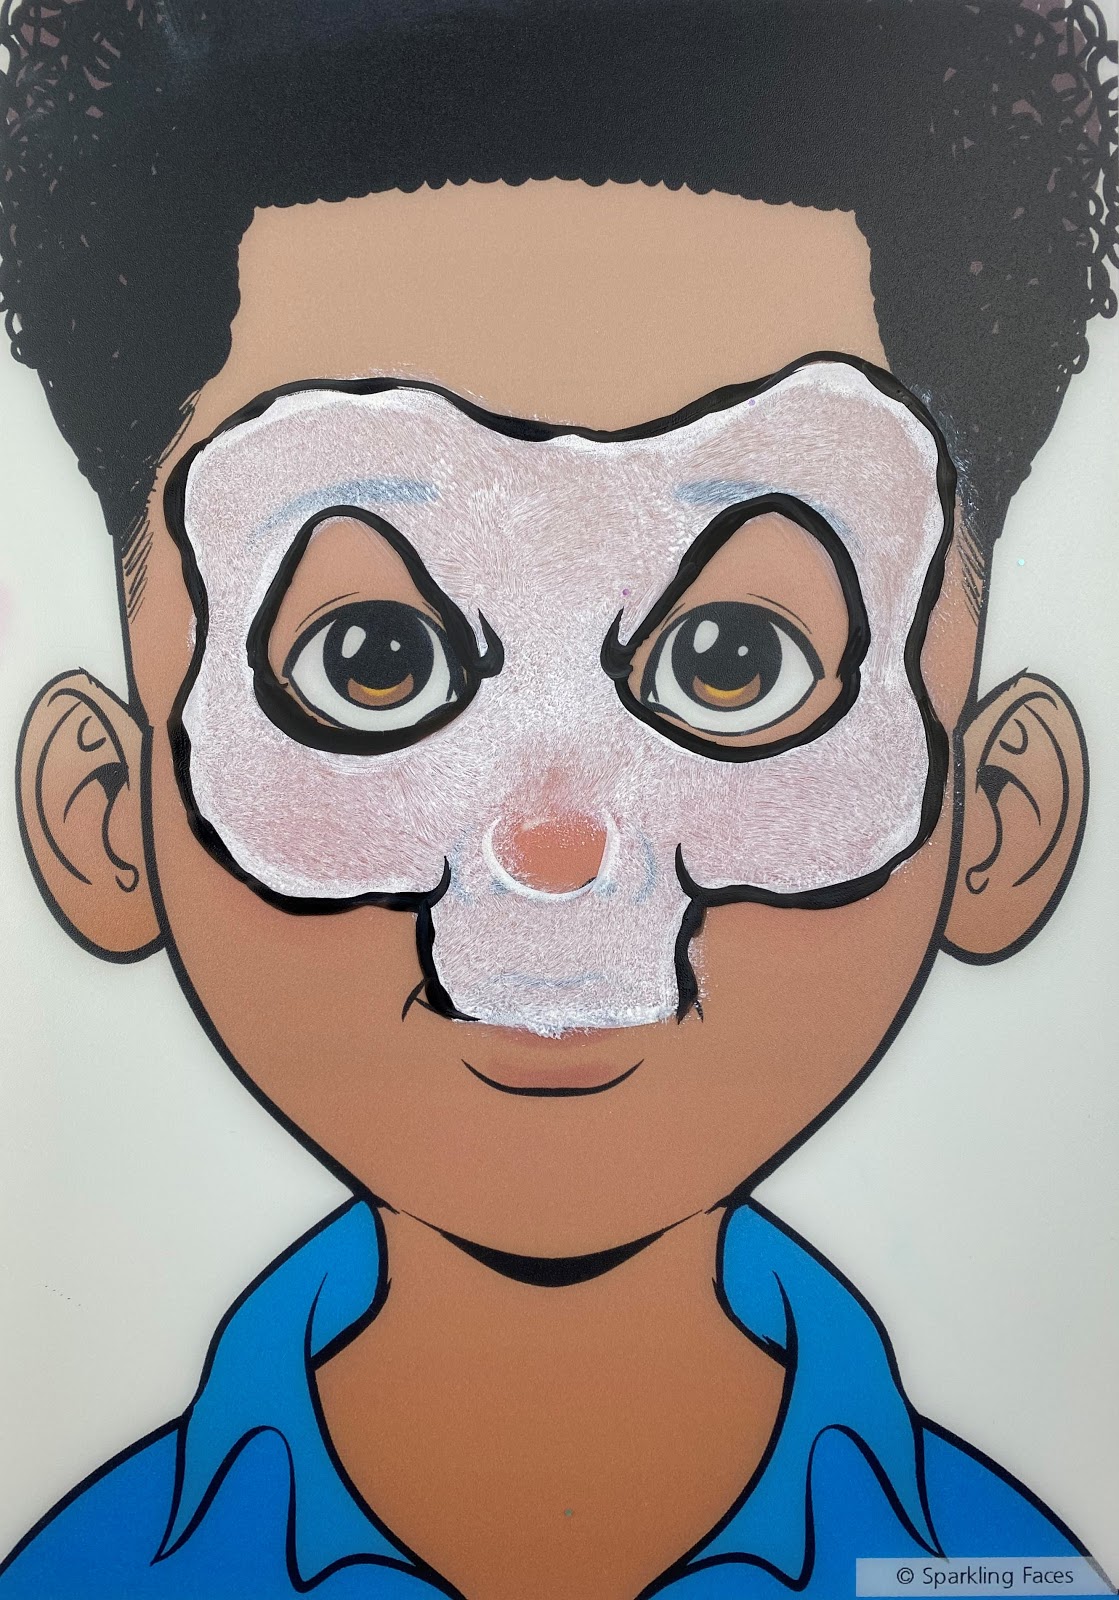
🖤 Step 3: Add the black outlines
With the black paint, outline the skull and the eye sockets. 👉 Add a small point at the corners of the eyes to make it look even spookier.
💡 Tip: always hold your brush perpendicular to the face for crisp lines, and vary the pressure: the harder you press, the thicker the line.
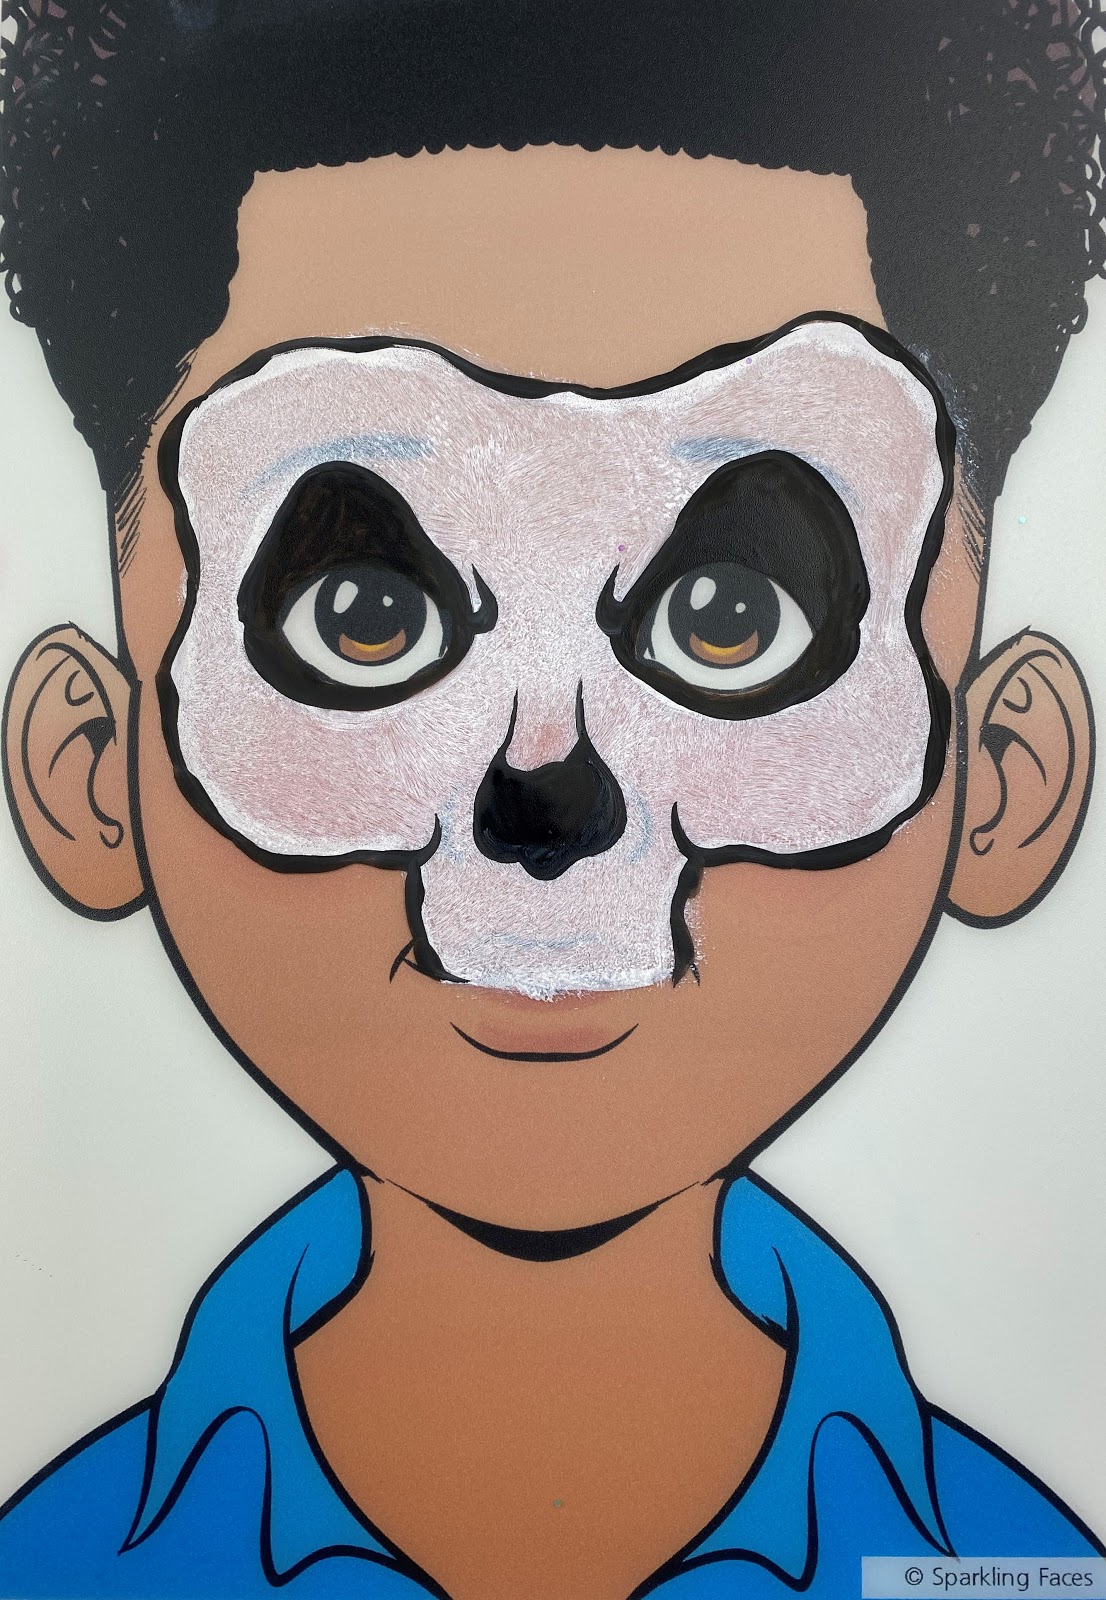
👁️ Step 4: Black out the eyes
Fill in the eye sockets with black, using a brush or a sponge, whichever you prefer. Slightly dampen your brush before activating the paint for full coverage.
🦷 Step 5: Paint the nose and teeth
For the skeleton's nose, paint two points from the bottom up, like a plane taking off ✈️ Practice on your arm first if needed.
For the teeth, place your brush perpendicular to the upper lip and make a small, quick upward stroke. Repeat to create a nice row of spooky teeth.
🌟 Step 6: Add details and shading
You can stop here… or take it further by adding cracks and shading for more depth.
👉 Shading technique: pick up a tiny bit of black on your damp brush, wipe off the excess on a paper towel, then apply with light dabs. The effect should look like soft powder.
Areas to shade:
around the eye sockets
around the teeth
the bottom of the skull
along the cracks
🧴 How to remove it
First, massage the makeup with a makeup removing balm or a little oil (coconut, olive…), then wipe it off with a cotton pad or microfiber cloth and lukewarm water. If a few traces remain, simply repeat.
When it comes to Halloween and special effects makeup, there's no getting around fake blood! 🩸 But with so many textures, colors, and ways to use it, it's not always…
Hi, I'm Stéphanie, the head (and the brushes) behind Grimages.com! 🦊 Born in 1985, I've always loved face painting: as a little girl, I got my face painted whenever the…
🧙 Want a spellbinding witch look for Halloween, for yourself or your child? With my affordable Witch Kit and this step-by-step tutorial, your face paint will be child's…